Welcome to the Plant Zone. Here you will find step-by-step instructions for setting up LED grow lights, perfect for beginners growing microgreens, herbs, or leafy greens indoors. Whether you are building your first setup or looking to improve your results, this guide is for you.
Why Use LED Grow Lights?
- Energy efficient. LEDs use less power and last longer than other options.
- Customizable spectrum. Target the light spectrum your plants need.
- Low heat output. Less risk of burning delicate greens, even at close range.
- Cost effective. The investment pays off over years of healthy harvests.
Step-by-Step Setup Guide
- Pick your seeds. Popular microgreens include sunflower, radish, pea, and broccoli. Choose fresh seeds labeled for sprouting or microgreens.
- Soak seeds if needed. Larger seeds like peas and sunflowers should soak for six to eight hours in water. Smaller seeds can be sown dry.
- Prepare your tray. Add about one inch of sterile soil or growing medium to your tray. Level the surface gently but do not pack it down tightly.
- Sow seeds evenly. Sprinkle seeds evenly over the soil surface. Aim for a single, even layer without piling seeds on top of each other.
- Mist and cover. Mist seeds with water. Cover the tray with a blackout dome or another tray for two to three days until seeds sprout.
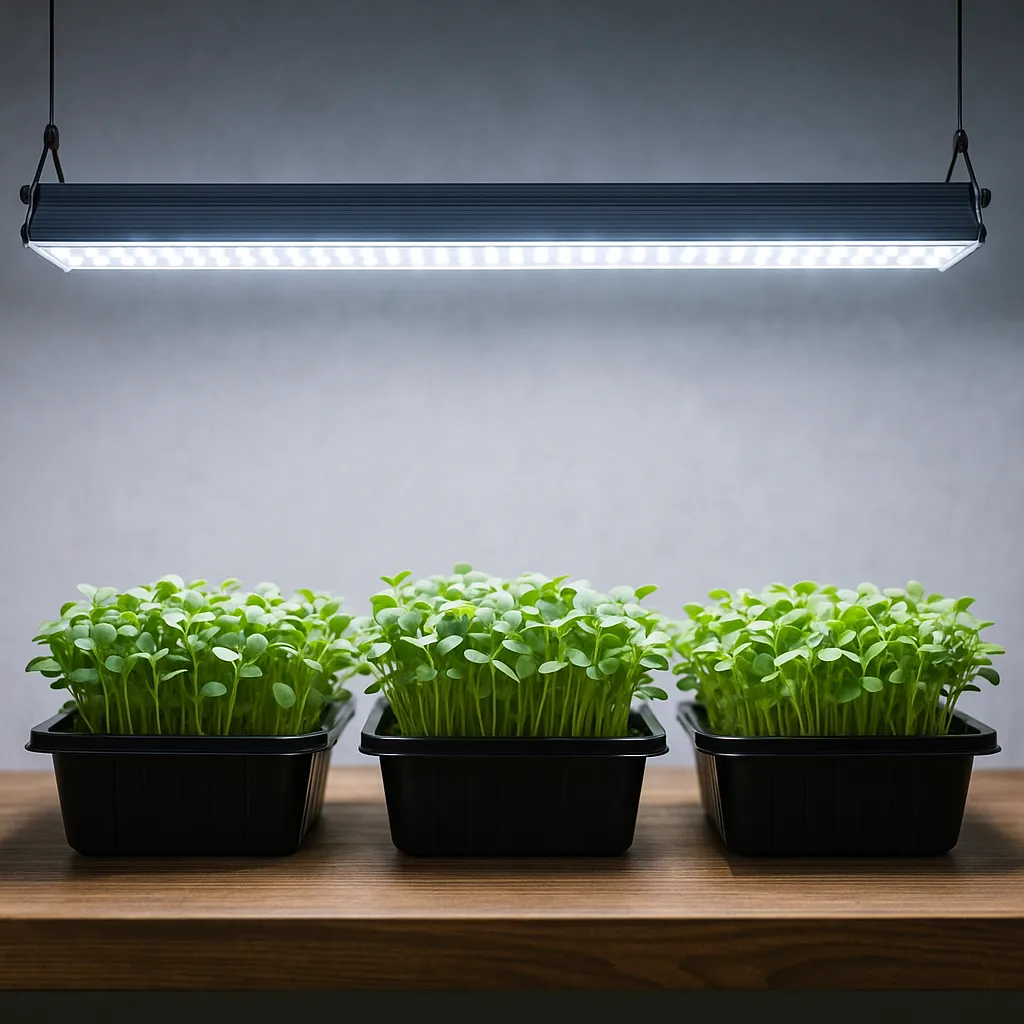
- Remove cover and add light. Once most seeds have sprouted, remove the cover and place the tray under your LED grow light.
- Water as needed. Keep the soil moist but not soggy. Water from below if possible to avoid damping off and mold.
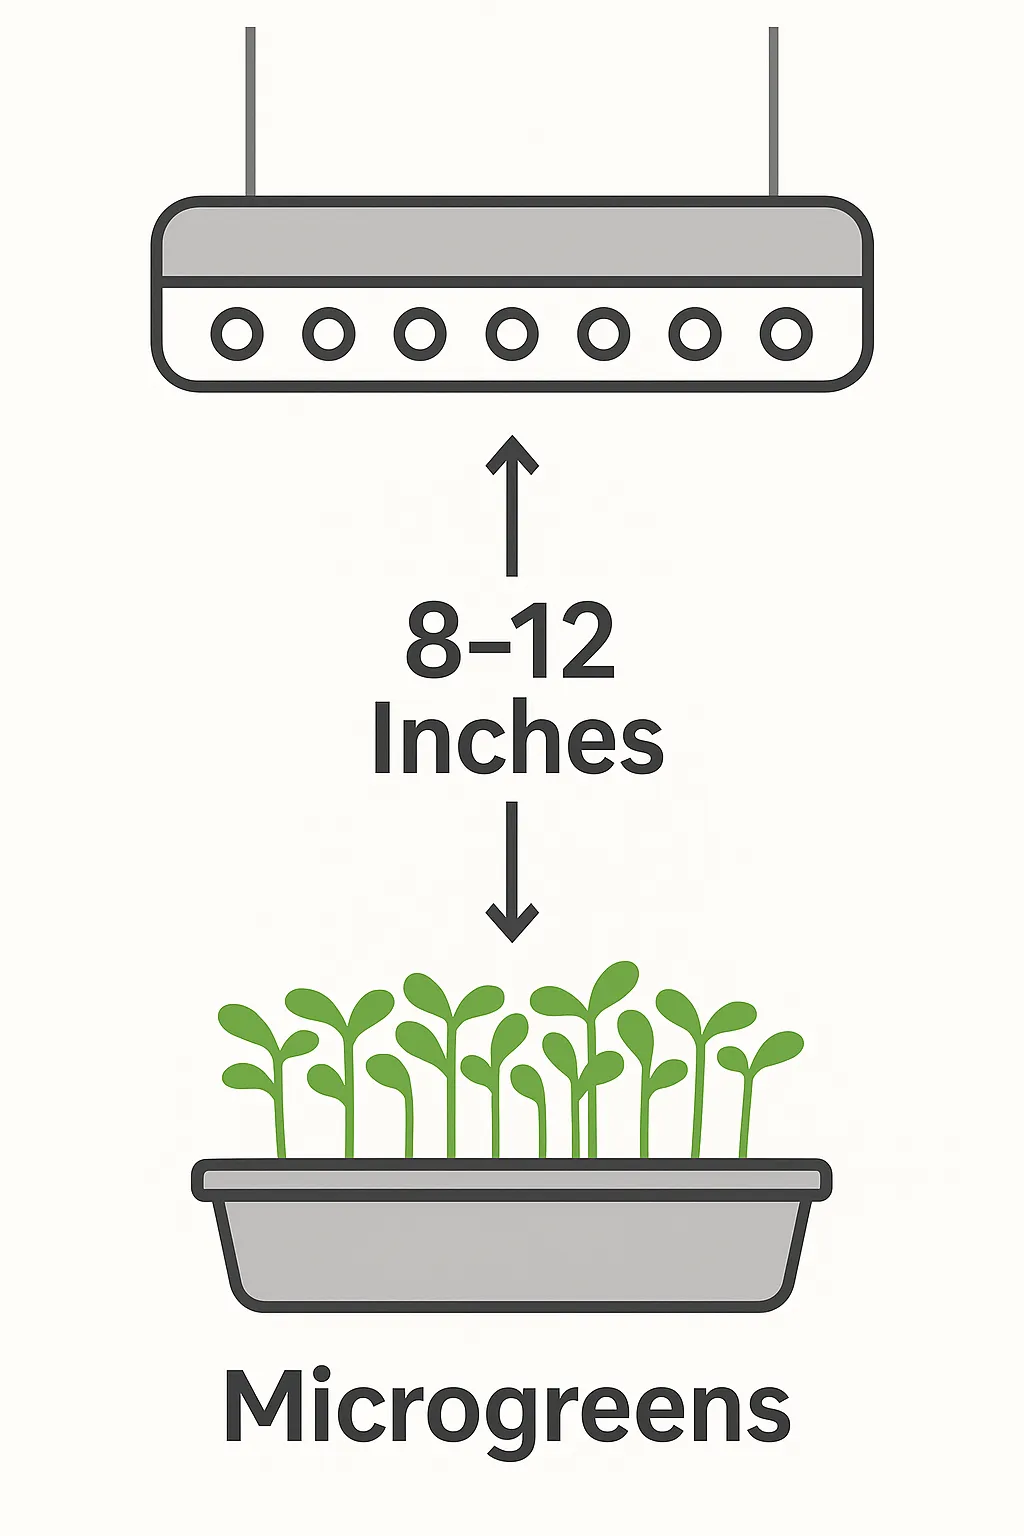
- Monitor growth and adjust light. Place the light eight to twelve inches above the greens. Adjust as they grow to keep stems short and leaves healthy.
- Harvest. Most microgreens are ready in seven to fourteen days. Cut just above the soil line using clean scissors. Rinse gently and enjoy fresh.
Pro Tips for Healthy Microgreens
- Rotate trays every few days for even growth.
- Keep lights clean. Dust blocks valuable light.
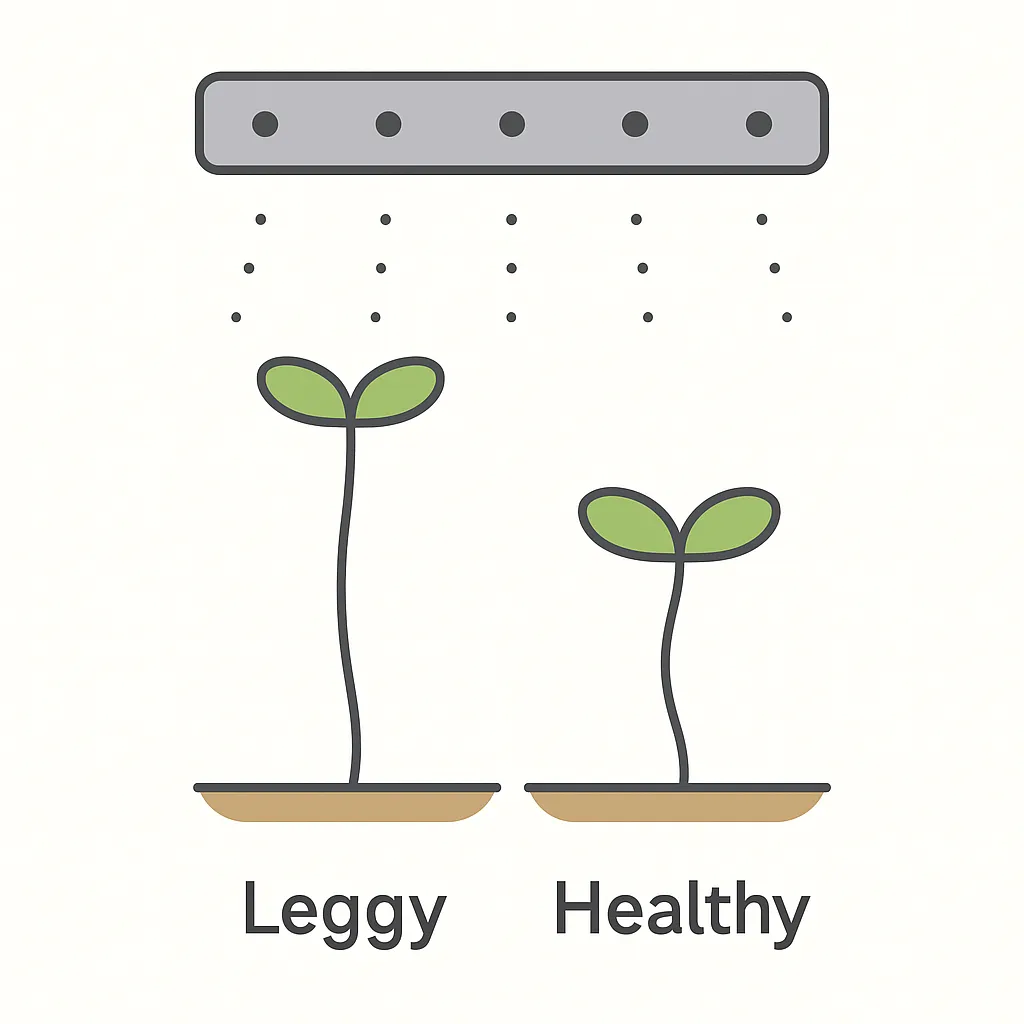
- If greens look tall and thin, lower the lights by one or two inches.
- Use blackout domes for the first two to three days after sowing seeds.
- Monitor temperature. Microgreens prefer 18-22 deg C (64-72 deg F).
Recommended Products for Indoor Microgreens
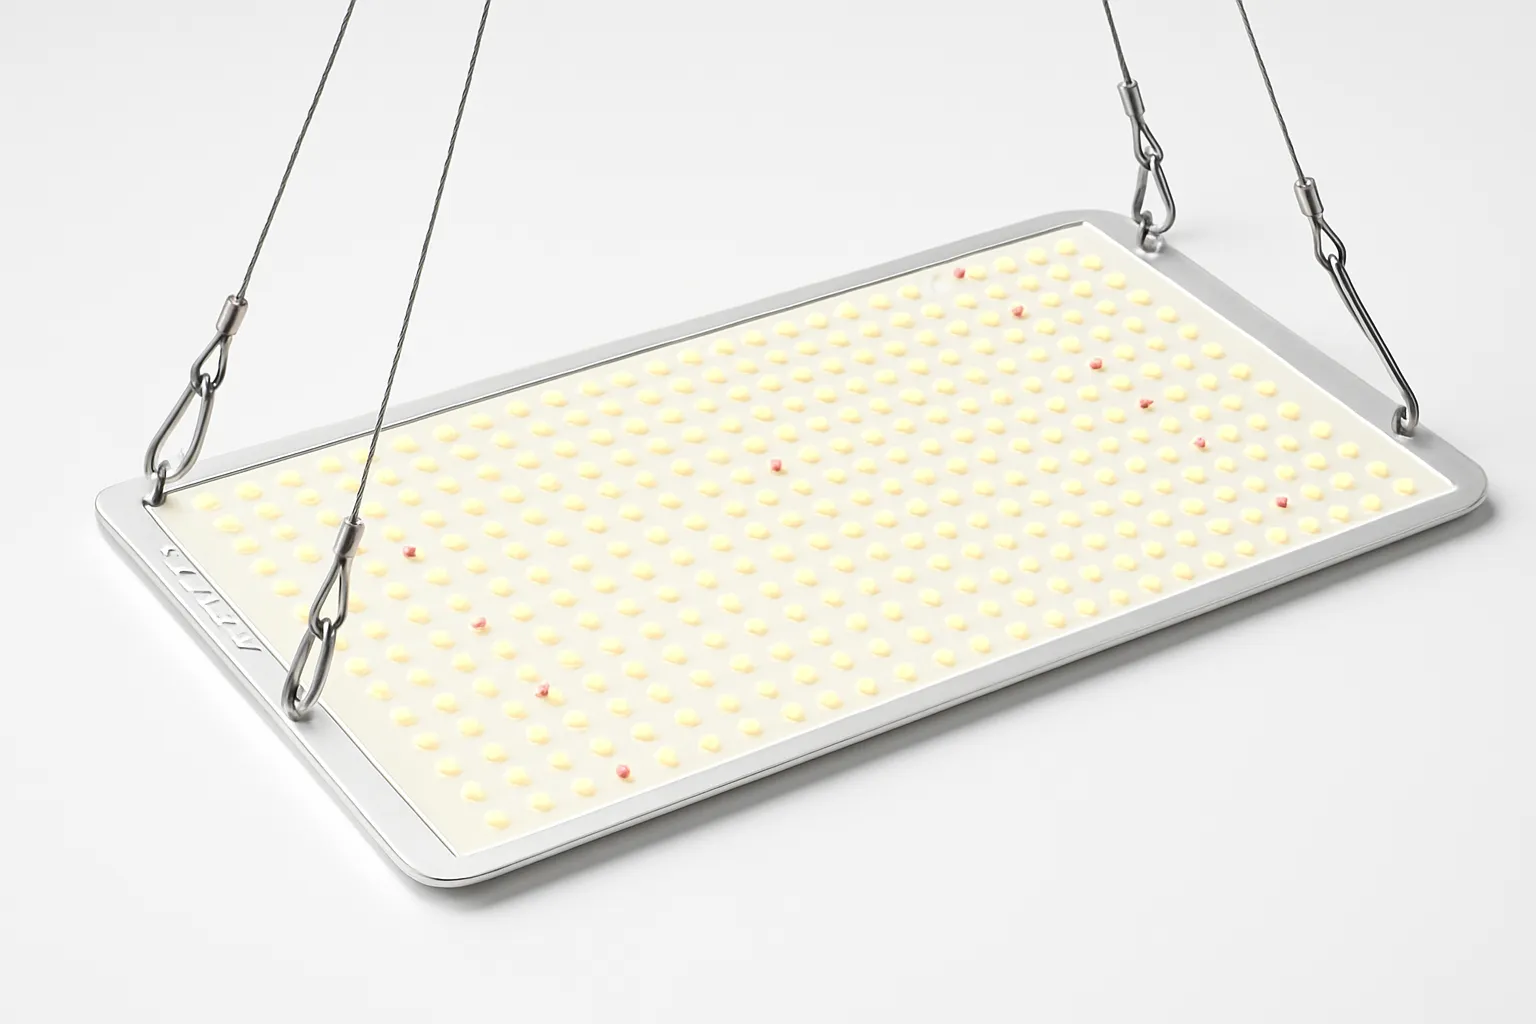
Modern flat panel LED grow lights deliver the best spectrum and even coverage for microgreens. Look for high efficiency, daylight color temperature from 4000K to 6500K, and low heat output. Mount panels with adjustable wires or chains for easy height changes.
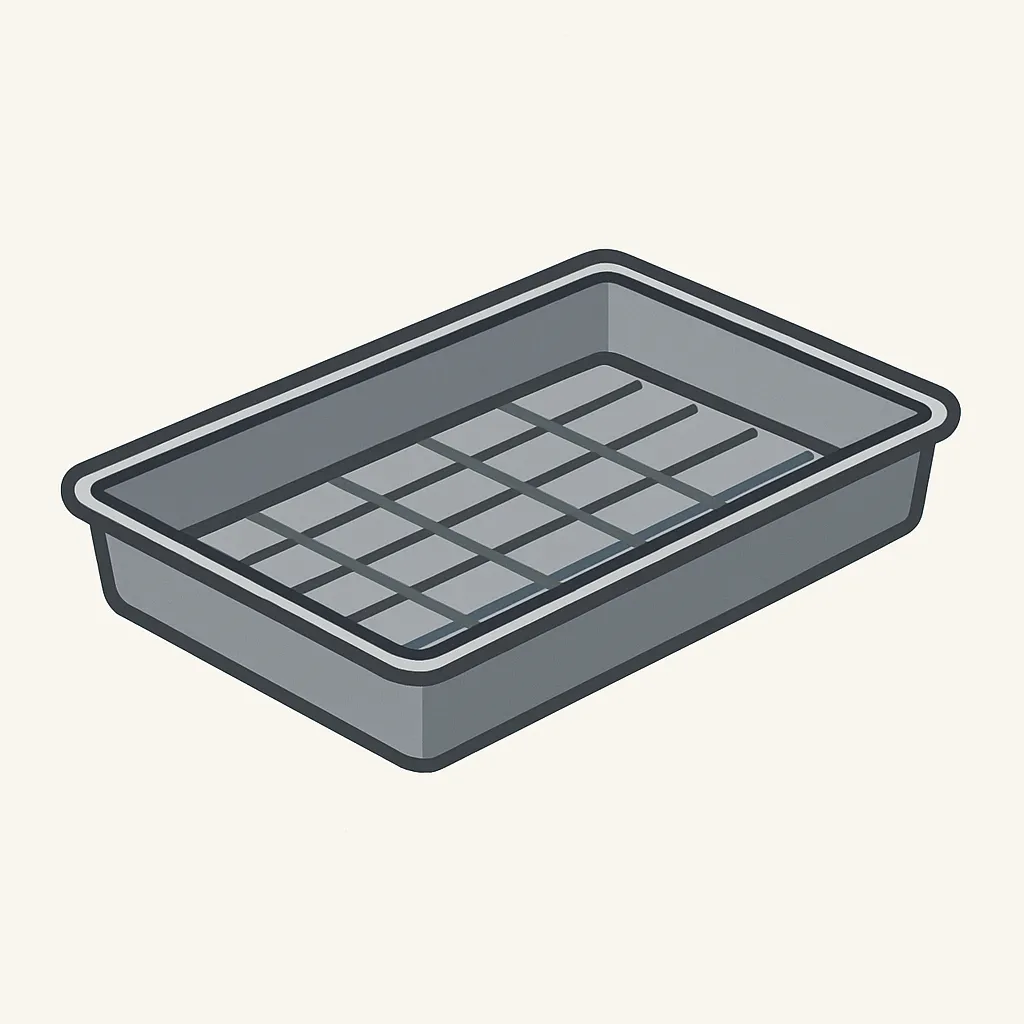
Use rigid food safe trays about 10 by 20 inches and 1.5 to 2.5 inches deep. Bottom holes help drainage and prevent root rot. Stackable trays save space and make moving crops easy.

Choose a light sterile seed starting mix with good drainage. Some growers use coconut coir, hemp mats, or a mix of peat and perlite. Avoid garden soil as it is too dense and may carry pests.

Durable plastic or stainless steel planters are reusable and easy to clean. Shallow trays are best for microgreens, while deeper pots suit herbs and leafy greens.
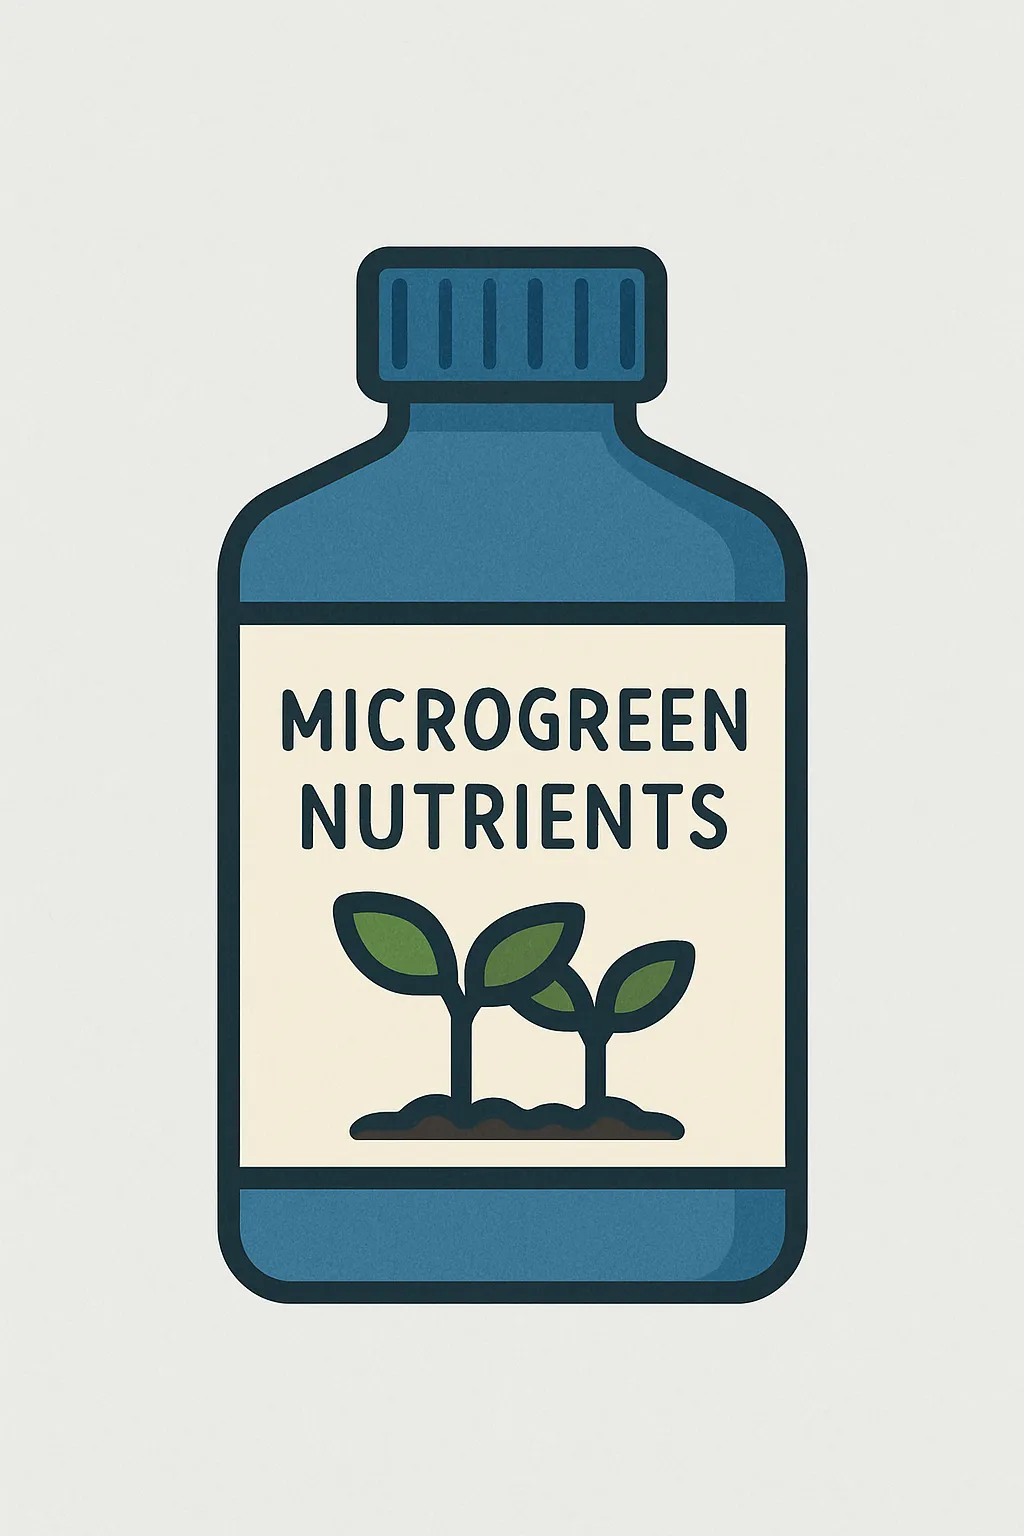
Most microgreens need only water, but if you reuse media or want optimal growth, use a mild liquid fertilizer, either organic or hydroponic, diluted to one quarter strength. Apply only after sprouting.

Keeps your lights on a regular 12 to 16 hour schedule. Choose a mechanical or digital timer with simple settings and a manual override switch for flexibility.

For colder rooms, a waterproof heat mat speeds up germination. Models with a built in thermostat ensure safe, even heating for microgreen trays.

A clip on or desktop fan improves airflow, prevents mold, and strengthens stems. Run the fan gently across the canopy, not directly at the trays, for best results.

A small HEPA air filter keeps dust and spores away from your growing area. This is useful in closed rooms or during allergy season.
More in the Plant Zone
Frequently Asked Questions
Ask a Question
All questions are reviewed before publishing.
Expert Take
"LED grow lights have made home microgreen production much easier," says Dr Jamie Lin, urban agriculture researcher. "Good spectrum and proper timing are the keys to fast, healthy, and nutrient-rich harvests indoors."