
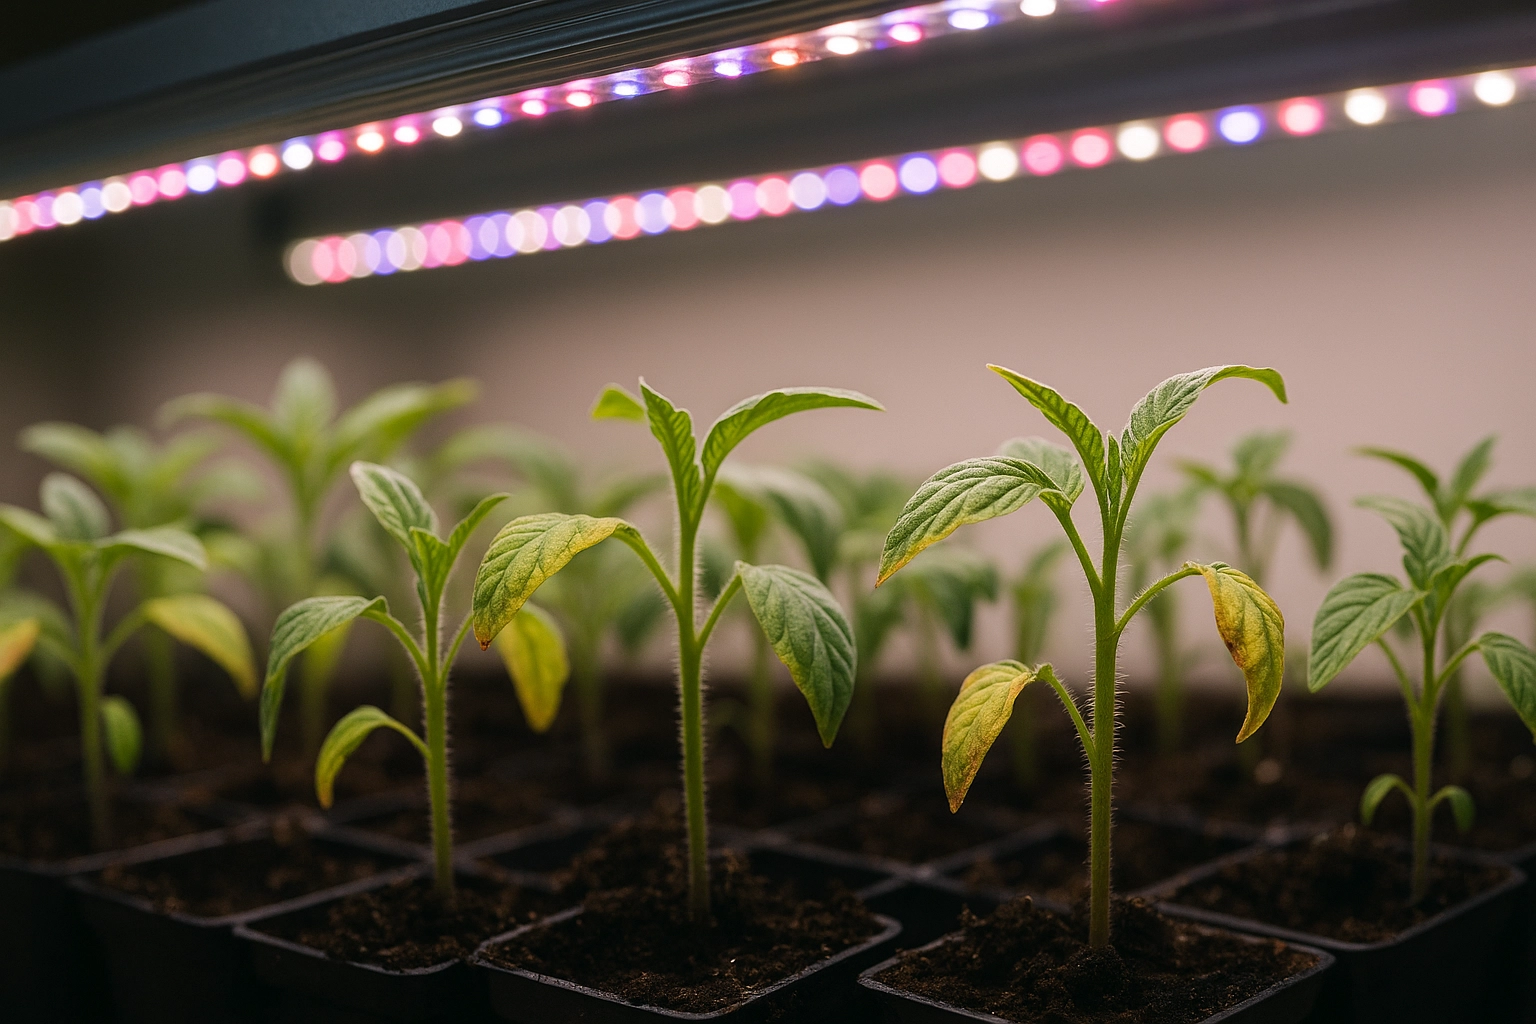
Seedling problems are easier to fix when you start with the symptom rather than changing several things at once. Stretching, pale leaves, slow growth, mold, and uneven development can all have different causes even when they look similar at first.
Use this guide to narrow the problem down to lighting, moisture, temperature, nutrition, disease, or equipment - then make one or two corrections and watch how the seedlings respond.
1. Start With the Symptom
Before adjusting your LED, look at the whole growing environment. Seedlings respond to light, temperature, moisture, airflow, root health, and nutrition at the same time.
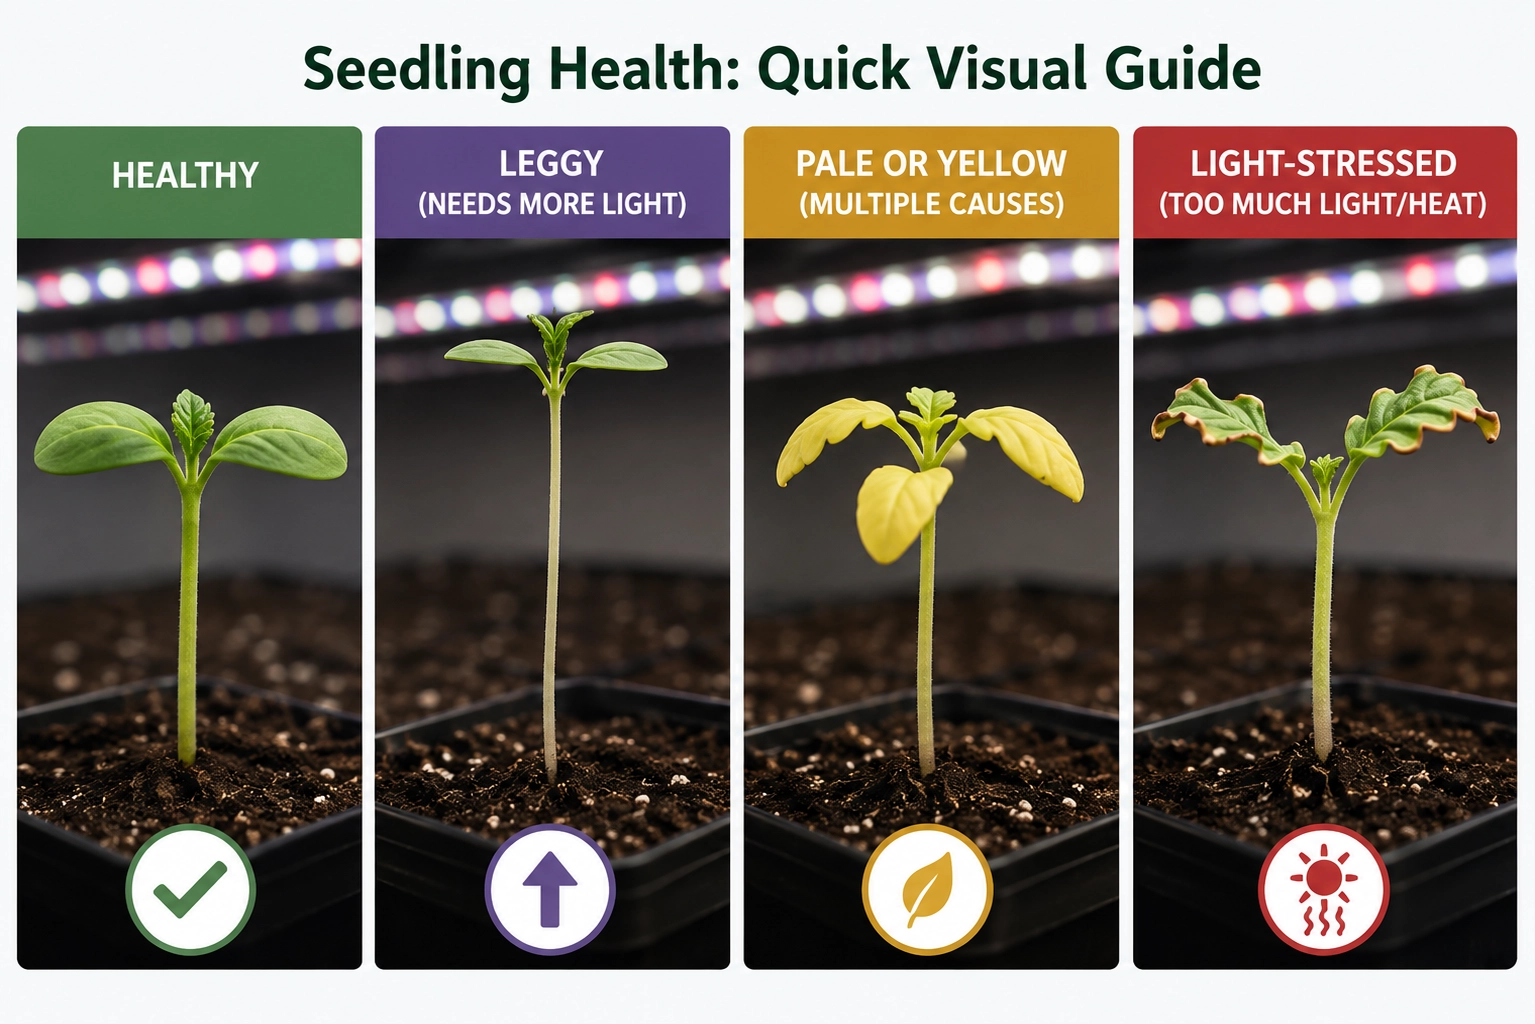
- Tall and thin: usually points toward insufficient light.
- Pale or yellow: can involve light, watering, roots, temperature, or nutrition.
- Slow or stunted: check temperature, root conditions, moisture, and light intensity.
- Brown, curled, or bleached leaves: check for excessive light, heat, drying, or fertilizer stress.
- Collapsed stems at soil level: suspect damping-off rather than a lighting problem.
- One part of the tray grows differently: investigate uneven light, temperature, or watering.
2. Seedlings Are Tall, Thin, or Falling Over
Leggy seedlings have long, weak stems because they are stretching toward light. This is one of the most common indoor seed-starting problems.
If seedlings begin leaning toward the fixture or growing unusually tall between leaves, increase the amount of useful light reaching the canopy. Depending on the fixture, that may mean lowering the light, increasing its output, or improving coverage.
- Move an adjustable fixture closer if the manufacturer allows it.
- Increase output if the fixture is dimmable and seedlings are clearly under-lit.
- Keep the light centered over the entire tray.
- Provide a consistent daily photoperiod, commonly around 14-16 hours for many seedlings.
- Use gentle air movement once seedlings are established to encourage stronger stems, but do not aim a strong fan directly at young plants.
Do not rely on one universal hanging distance. A low-power propagation light and a powerful grow panel can require very different heights.
3. Seedlings Are Yellow or Pale
Pale seedlings are not automatically a fertilizer problem. Low light can reduce chlorophyll development, but excess moisture, poor roots, cool growing conditions, and nutrition can produce similar symptoms.
Start by checking the simplest possibilities:
- Light: make sure seedlings are receiving enough intensity and are not shaded by taller plants.
- Water: keep the growing mix moist but not continuously saturated.
- Drainage: confirm that excess water can leave the tray or container.
- Temperature: very cool roots can slow growth and nutrient uptake.
- Nutrition: seedlings grown in nutrient-free mixes may need light feeding after true leaves develop, but over-fertilizing young seedlings can create additional problems.
Yellowing confined to seed leaves can also be normal as the plant develops true leaves. Look at the newest growth before making a major adjustment.
4. Growth Is Slow or Stunted
Slow seedlings often indicate that one of the basic growth conditions is limiting development. Check the root zone before assuming the LED is at fault.
- Check whether the growing medium is staying unusually cold.
- Make sure roots are not sitting in constantly saturated mix.
- Confirm that seedlings have enough light after emergence.
- Avoid strong fertilizer solutions on very young seedlings.
- Check whether seedlings have outgrown very small cells and become root-bound.
Warm-season crops such as tomatoes, peppers, and eggplants generally germinate more readily in warm growing media. Bottom heat can be useful during germination when the room or root zone is cool.
5. Leaves Are Curling, Bleaching, or Burning
Leaf stress near the top of the plant can occur when a powerful LED is too close or when the combination of light, heat, and drying becomes excessive. Brown edges can also result from root or fertilizer problems, so inspect the entire setup before blaming the fixture.
- Raise or dim a powerful fixture if stress appears mainly on the upper leaves.
- Check canopy temperature and moisture more frequently under strong lighting.
- Avoid allowing seedlings to repeatedly wilt between waterings.
- If fertilizer was recently added, consider whether the concentration was too strong.
- Remove humidity domes after seedlings emerge rather than keeping leaves enclosed in persistently humid conditions.
6. Mold, Damping-Off, and Excess Moisture
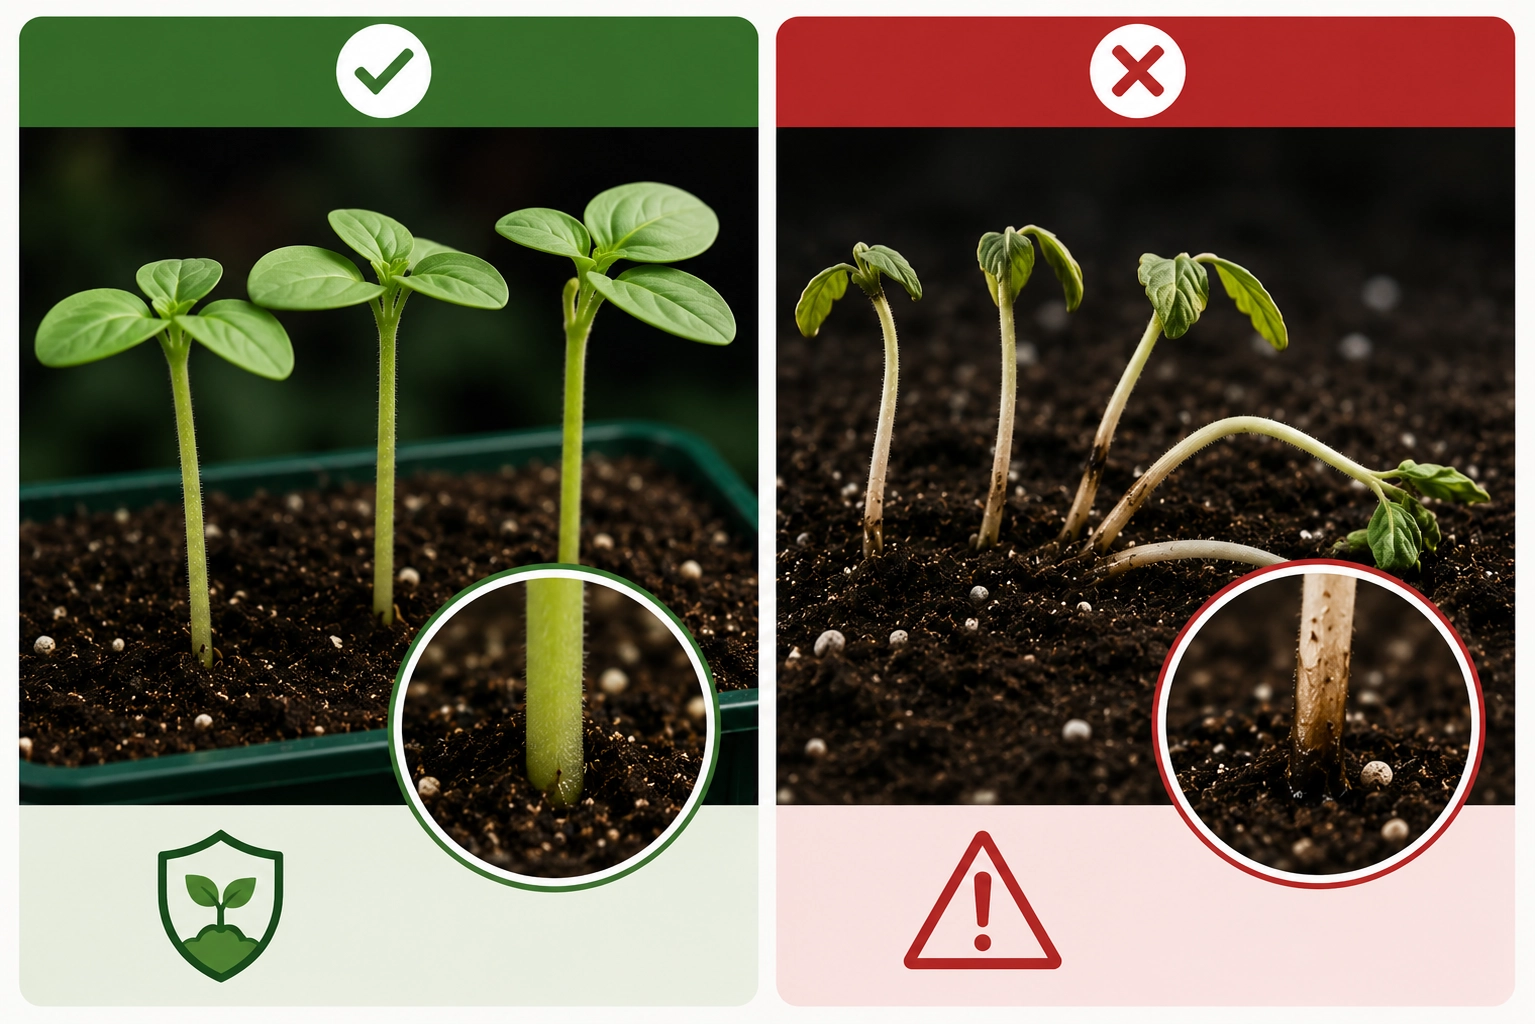
Damping-off is one of the most serious seedling problems because affected seedlings usually do not recover. The stem often becomes thin, dark, or water-soaked near the soil surface before the seedling collapses.
The organisms responsible for damping-off are favored by conditions such as excessive moisture, poor drainage, contaminated trays or growing media, and conditions that slow seedling growth.
- Use clean trays and fresh, well-drained seed-starting mix.
- Keep the mix moist during germination but avoid waterlogging.
- Make sure containers have working drainage holes.
- Remove humidity covers after seedlings emerge.
- Provide adequate light and gentle air circulation.
- Avoid overcrowding seedlings.
- Clean reusable trays and tools before starting another batch.
A little harmless surface growth on damp media is not necessarily damping-off. The important warning sign is damage at the seedling stem or root zone, especially seedlings that narrow at the soil line and fall over.
7. Uneven Growth and Lighting Hotspots
When one side of a tray grows faster than the other, compare the conditions across the tray rather than treating every seedling the same.
- Rotate trays periodically if one side consistently receives more light.
- Check fixture alignment and make sure the tray is centered beneath it.
- Measure PPFD at several canopy positions if you have access to a PAR meter.
- Check whether one side of the tray dries faster or receives more airflow.
- With multiple fixtures, overlap coverage carefully to avoid bright and dim zones.
Even high-quality LEDs rarely produce perfectly uniform PPFD across the entire growing area. The goal is to keep the differences reasonable enough that all seedlings develop at a similar rate.
8. When the LED Fixture May Be the Problem
Not every seedling problem comes from plant care. A failing driver, unreliable timer, loose connection, or uneven fixture output can create confusing growth patterns.
- Confirm that the fixture turns on and off at the expected times.
- Check dimmer settings and make sure they have not been changed accidentally.
- Look for visible flicker, intermittent operation, or sections of the fixture that are noticeably dimmer.
- Inspect plugs, timers, and accessible connections with the power disconnected.
- Compare canopy measurements at several locations if you have a PAR meter.
If electrical equipment is behaving abnormally, disconnect it and follow the manufacturer's troubleshooting or service instructions rather than opening or repairing powered equipment unless you are qualified to do so.
9. A Simple Troubleshooting Checklist
When something looks wrong, work through the problem in this order:
- Identify the symptom. Is the problem stretching, discoloration, collapse, slow growth, or uneven development?
- Check moisture. Is the medium too wet, too dry, or draining poorly?
- Check temperature. Is the root zone unusually cool or hot?
- Check the light. Confirm fixture height, intensity, coverage, and photoperiod.
- Inspect roots and stems. Look for rot, narrowing at the soil line, or other signs of disease.
- Consider nutrition last. Do not automatically add fertilizer every time a seedling looks pale.
- Change one thing at a time. Give the plants time to respond so you know which adjustment actually helped.
10. Helpful Tools for Troubleshooting
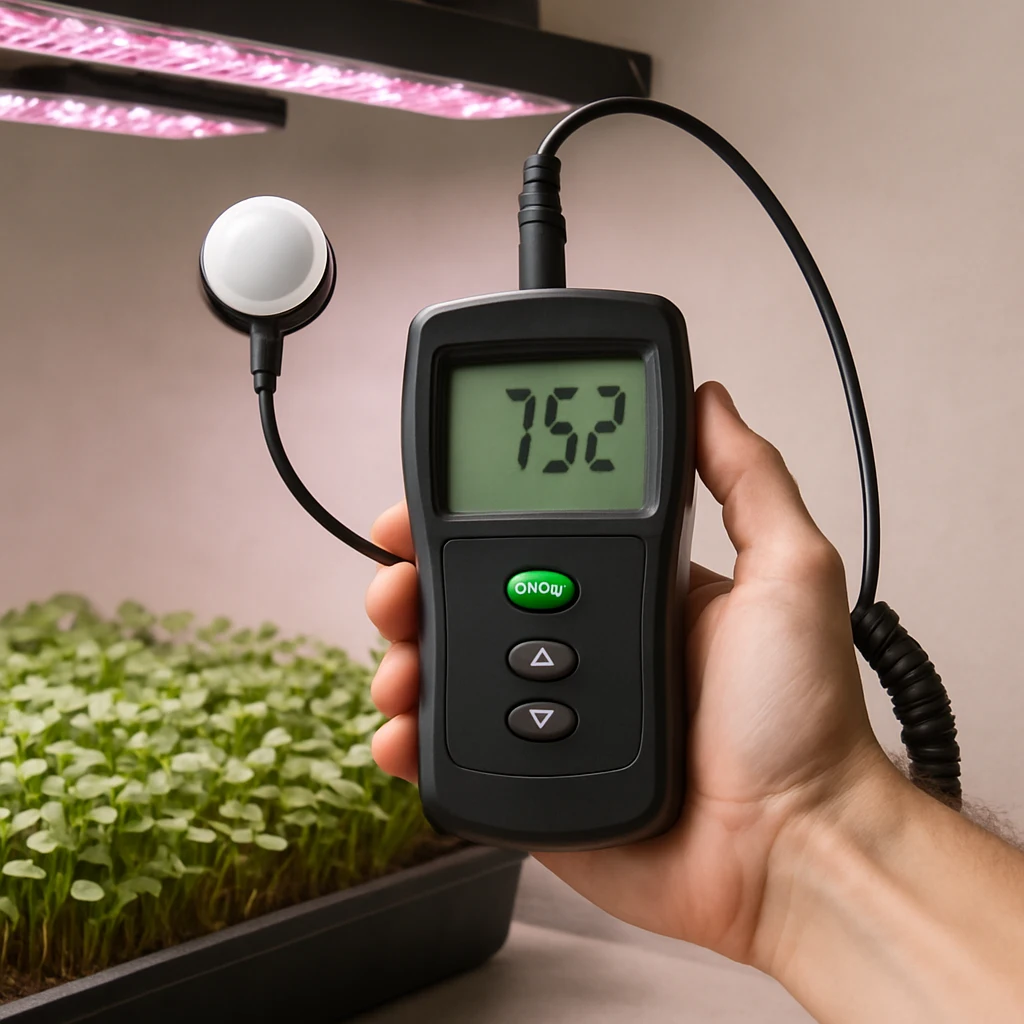
Measures actual PPFD at canopy level. Take readings at several points across the tray to identify low-light areas, hotspots, and uneven coverage.
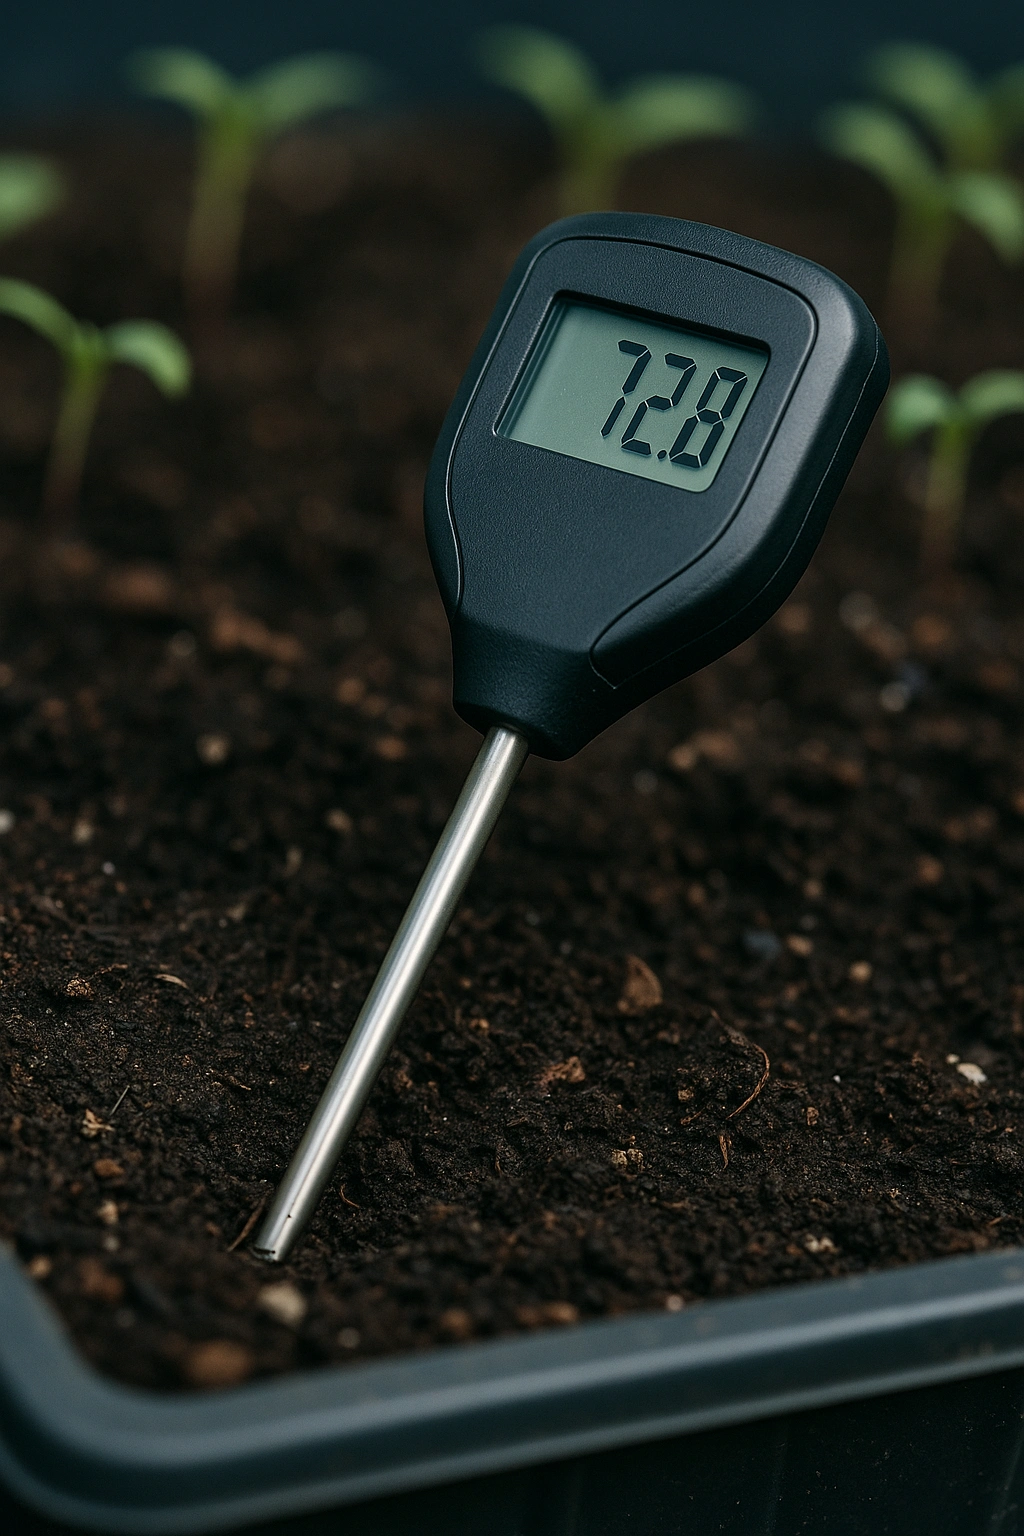
Helps confirm whether the growing medium is warm enough for reliable germination and whether a heat mat is maintaining the expected temperature.
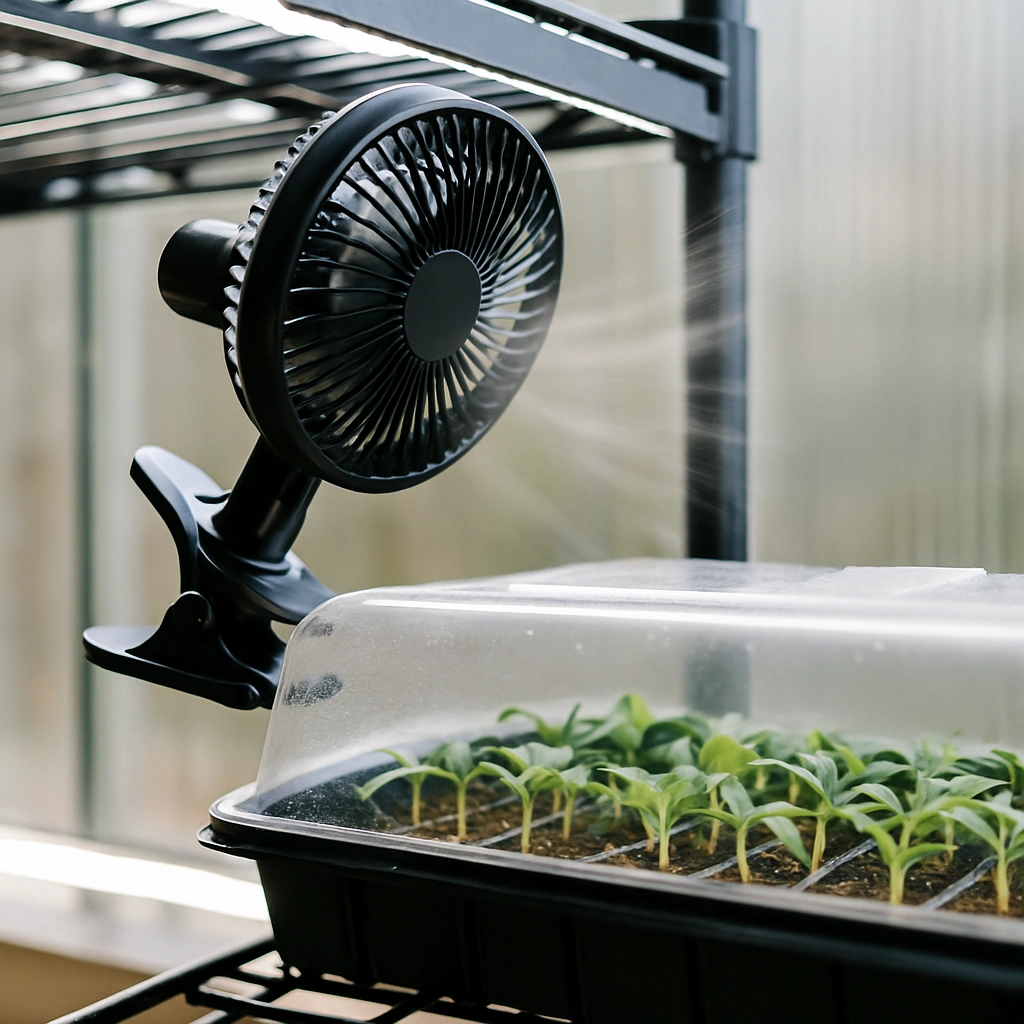
Gentle airflow helps reduce stagnant humid air and encourages stronger stems. Position the fan for mild air movement rather than directing a strong stream at delicate seedlings.
More in the Plant Zone
Frequently Asked Questions
Ask a Question
All questions are reviewed before publishing.
LEDHost Tip
Troubleshoot seedlings by changing one variable at a time. Check moisture, temperature, light, and root health before adding fertilizer or making several adjustments at once. The pattern of new growth usually tells you whether the correction is working.