
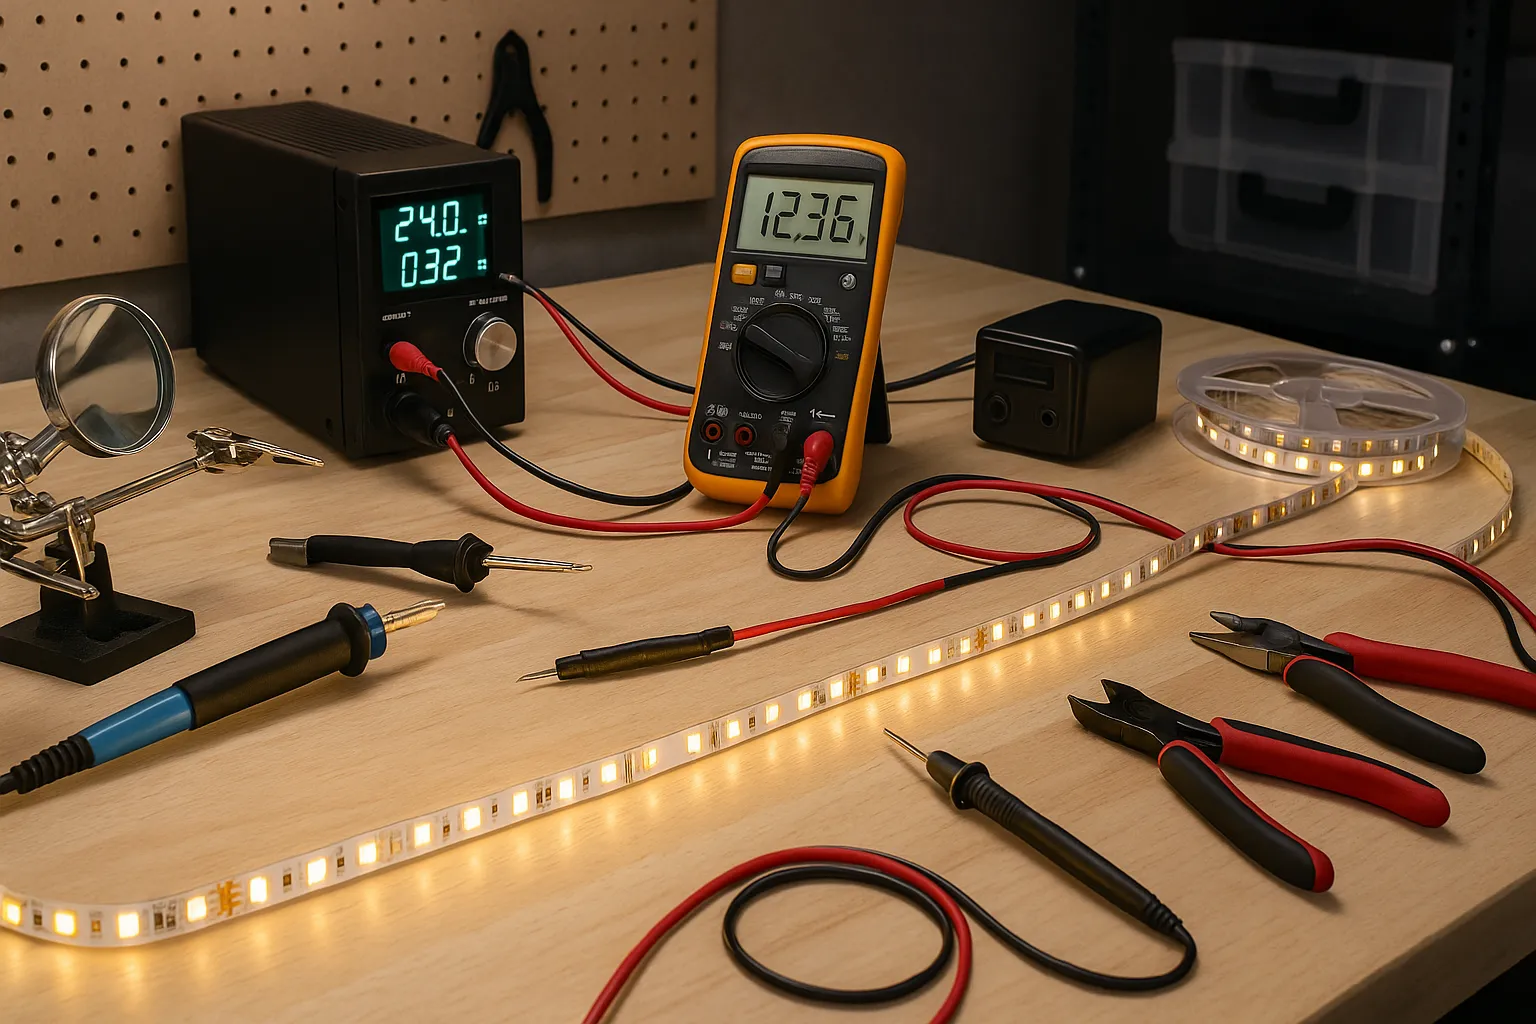
Welcome to the Tools Zone. Good LED projects depend on more than choosing the right light. Measuring output, matching power supplies, making reliable connections, and troubleshooting problems all become much easier with a few basic tools and a little practical knowledge.
Whether you're installing LED strips, building a grow-light setup, improving home lighting, or simply trying to understand why a light isn't working properly, this guide covers the tools and techniques that are most useful to have on hand.
1. What Tools Do You Actually Need?
You don't need a workshop full of specialized equipment to work with most low-voltage LED projects. A small collection of dependable tools will handle installation, testing, repair, and troubleshooting.
- Digital multimeter: measures voltage, resistance, and continuity.
- Wire cutters and strippers: prepare clean connections without damaging conductors.
- Soldering iron: useful for permanent LED-strip and wire connections.
- Heat-shrink tubing: insulates and protects finished joints.
- Small screwdrivers: useful for terminals, controllers, and power supplies.
- Outlet timer or smart controller: automates lighting schedules.
- Light meter: useful when actual light intensity matters.
Start with the tools required for the work you actually do. A multimeter and good wire tools are more useful to most beginners than an assortment of specialized equipment that rarely leaves the drawer.
2. Measuring Voltage, Resistance, and Continuity
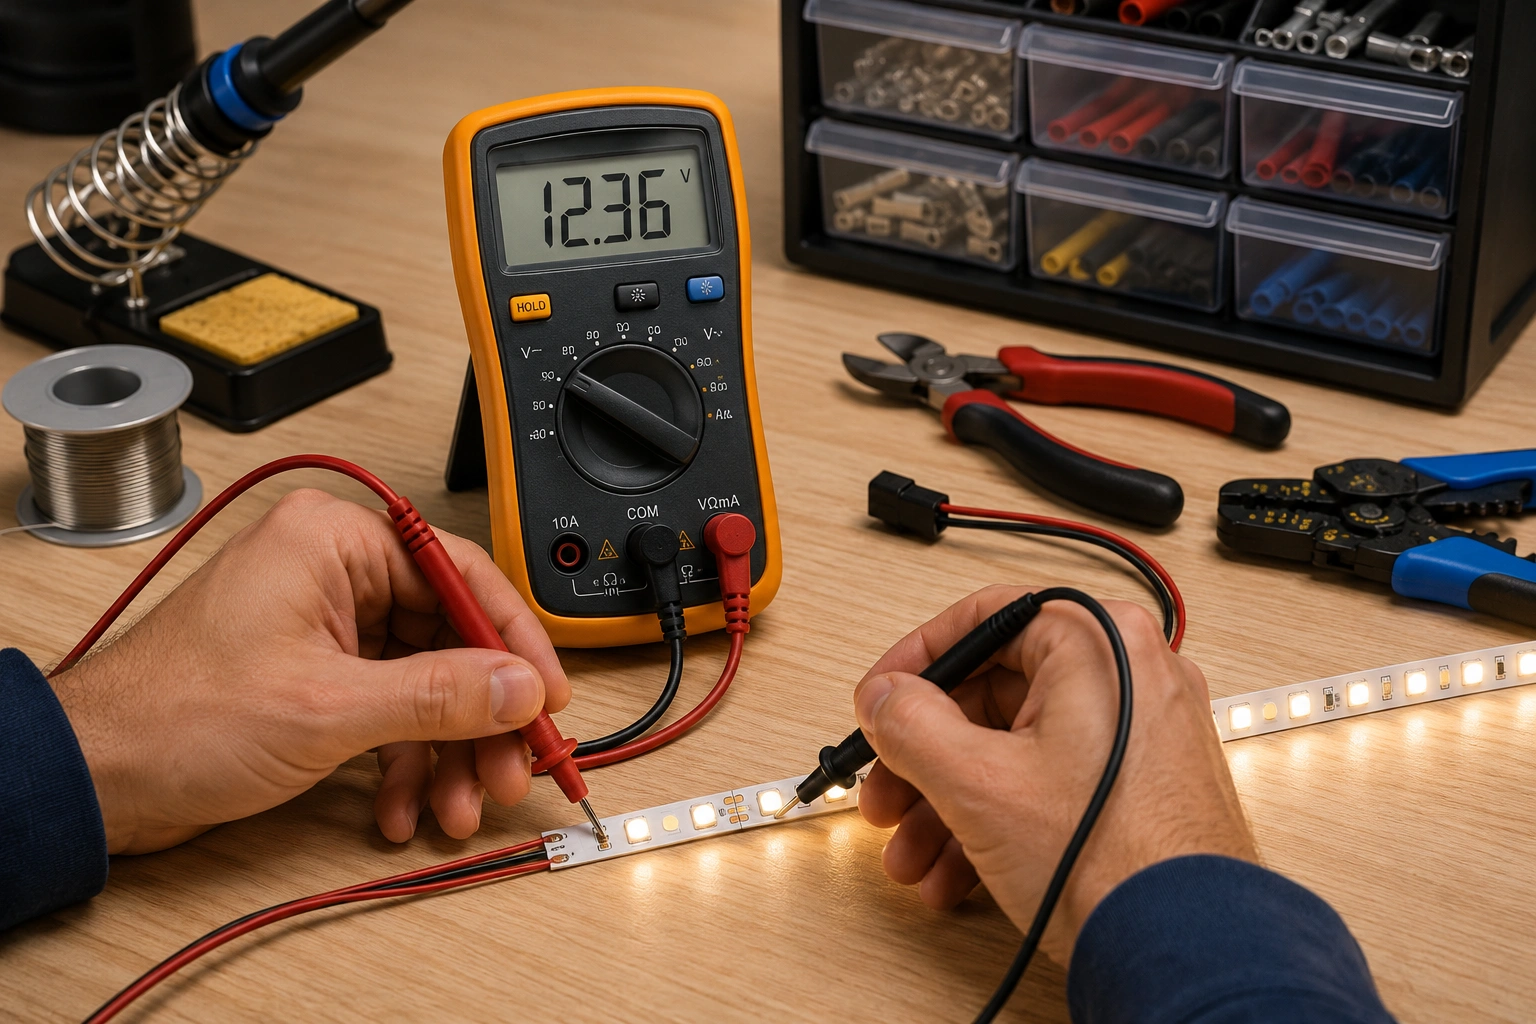
A digital multimeter is one of the most useful diagnostic tools for LED work. It can quickly tell you whether power is reaching a fixture, whether a wire is broken, or whether a connection is electrically continuous.
Voltage
Voltage measurements are useful when checking power adapters, LED-strip feeds, drivers, batteries, and low-voltage wiring. The meter is connected across the two points being measured while the circuit is powered.
Continuity
Continuity mode helps locate broken wires, bad connectors, damaged traces, and poor solder joints. Continuity testing should normally be performed with power removed from the circuit.
Resistance
Resistance measurements are useful for checking resistors and some components, but resistance should not be measured on a powered circuit.
Before taking any measurement, make sure the meter leads are plugged into the correct sockets and the selector is set for the quantity you intend to measure.
3. Measuring Light: Lux, PAR, and PPFD
Electrical measurements tell you what the lighting system is consuming. Light measurements tell you what the fixture is actually delivering. Which measurement matters depends on what you're lighting.
Lux
Lux measures visible light as weighted for human vision. It is useful for comparing illumination on desks, work surfaces, rooms, and other spaces intended primarily for people.
PAR and PPFD
Plant lighting is better evaluated by measuring photosynthetically active radiation. PPFD describes the amount of photosynthetically useful light reaching a square metre each second and is commonly expressed in µmol/m²/s.
A lux meter and a PAR meter therefore answer different questions. One is concerned with human-visible illumination; the other is intended to evaluate light useful for plant growth.
For experimenting with grow-light layouts, you can also use the LEDHost PAR Simulator to visualize how fixture height and coverage affect the growing area.
4. Choosing the Right LED Power Supply
Matching the power supply to the load is one of the most important parts of a reliable low-voltage LED installation.
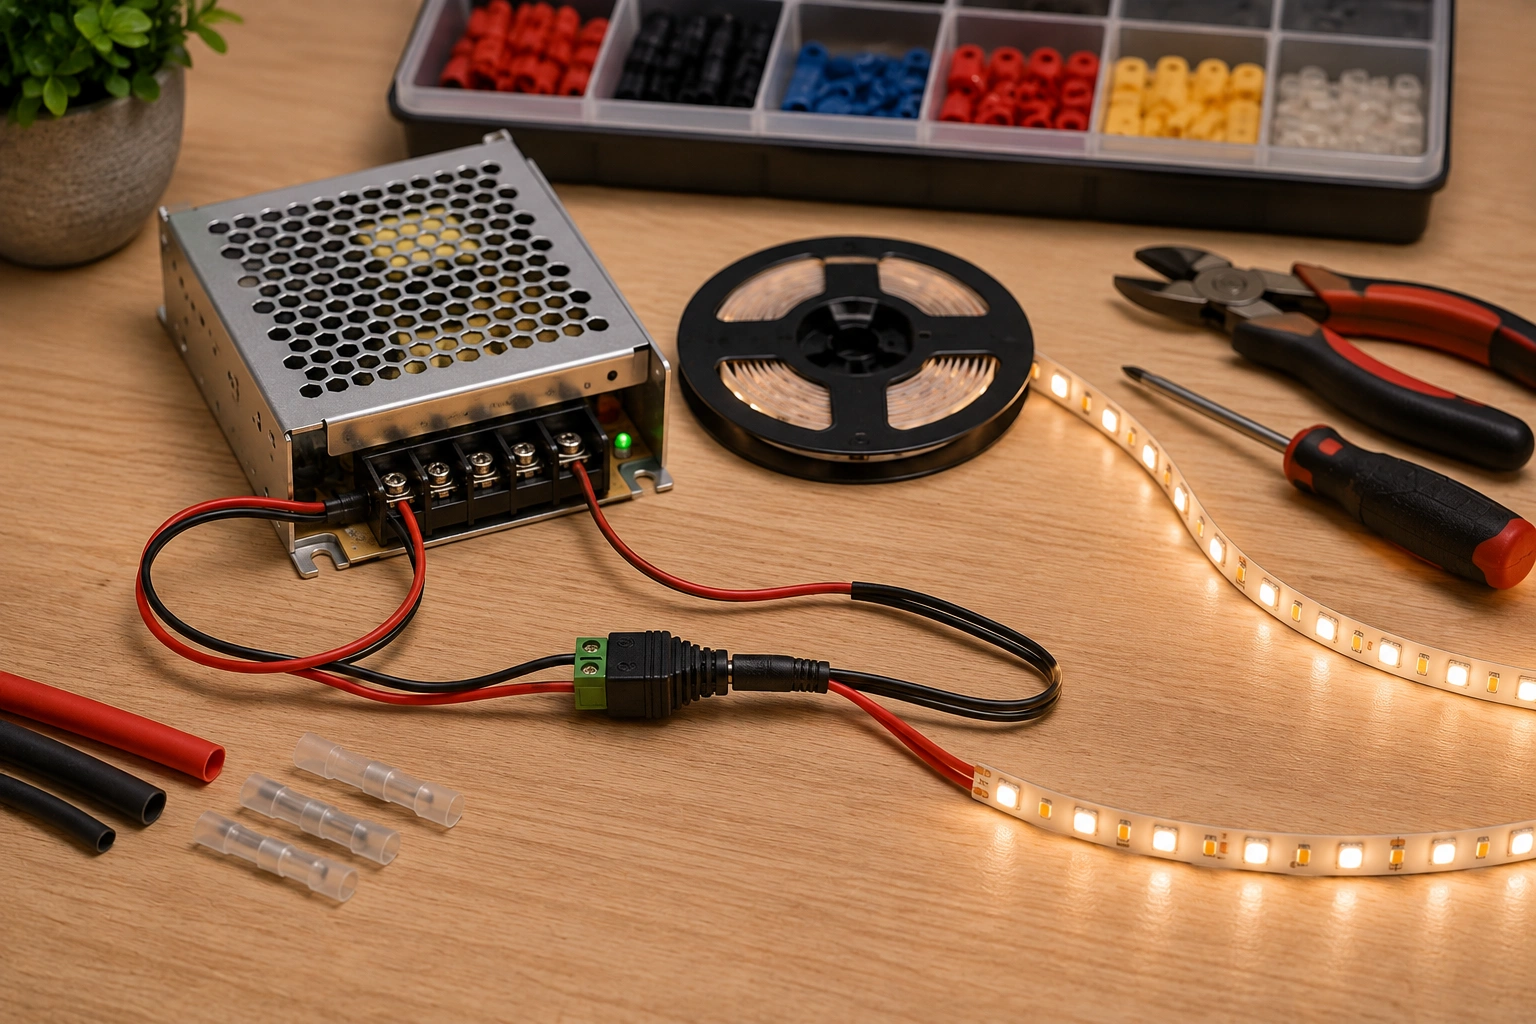
First match the required voltage. A 12-volt LED strip requires an appropriate 12-volt supply; a 24-volt strip requires a 24-volt supply. Voltage is not something to increase simply because a brighter result is desired.
Next determine the expected wattage of the connected LEDs. The power supply should have enough capacity to operate the load without being continuously pushed to its maximum rating.
- Match the supply voltage to the LED system.
- Allow reasonable capacity above the expected load.
- Use a supply intended for the environment where it will operate.
- Provide ventilation around supplies that generate noticeable heat.
- Do not exceed the ratings of connectors, controllers, or wiring.
5. Soldering Reliable LED Connections
Clip-on connectors are convenient, but soldering can provide a compact and durable connection when done correctly. LED strips usually have small copper pads, so excessive heat or prolonged contact with the iron can damage them.
- Use a clean, properly tinned soldering tip.
- Strip only the amount of wire needed for the connection.
- Pre-tin the wire and LED-strip pad with a small amount of solder.
- Join them quickly without holding the iron on the strip for too long.
- Inspect the joint for loose strands or accidental bridges.
- Protect exposed connections with heat-shrink tubing or suitable insulation.
A good solder joint should be mechanically secure before the project is placed into regular service. If a connection moves every time the cable moves, add strain relief rather than asking the solder joint to support the cable.
6. Test LED Strips Before Installation
One of the easiest ways to avoid frustration is to test an LED strip before permanently mounting it.
- Confirm that the strip voltage matches the power supply.
- Check polarity before applying power.
- Test the entire strip for dead or inconsistent sections.
- Check dimming and color control before mounting RGB or tunable-white strips.
- Inspect connectors and solder joints while everything is still accessible.
This is particularly important with adhesive-backed strips. Discovering a bad connection after the strip has been installed behind cabinetry or furniture turns a simple correction into a much larger job.
7. Dimmers, Controllers, and Automation
LED controls can range from a simple inline dimmer to programmable smart systems that change brightness or color temperature throughout the day.
Before adding a controller, make sure it is compatible with the type of LED system being used and can handle the electrical load.
- Inline dimmers: simple manual brightness adjustment.
- RGB/RGBW controllers: control multichannel color LED strips.
- Timers: excellent for repeatable grow-light schedules.
- Motion sensors: useful for closets, stairs, and utility lighting.
- Smart controls: provide scheduling, remote control, and automation.
Automation is most useful when it solves a real problem. A basic outlet timer can sometimes be more dependable and easier to maintain than a complicated connected system.
8. Useful Tools for Grow-Light Setup
Grow lights introduce another variable: the distance and distribution of light across a living canopy. A fixture can be electrically perfect and still produce poor plant growth if it is mounted incorrectly.
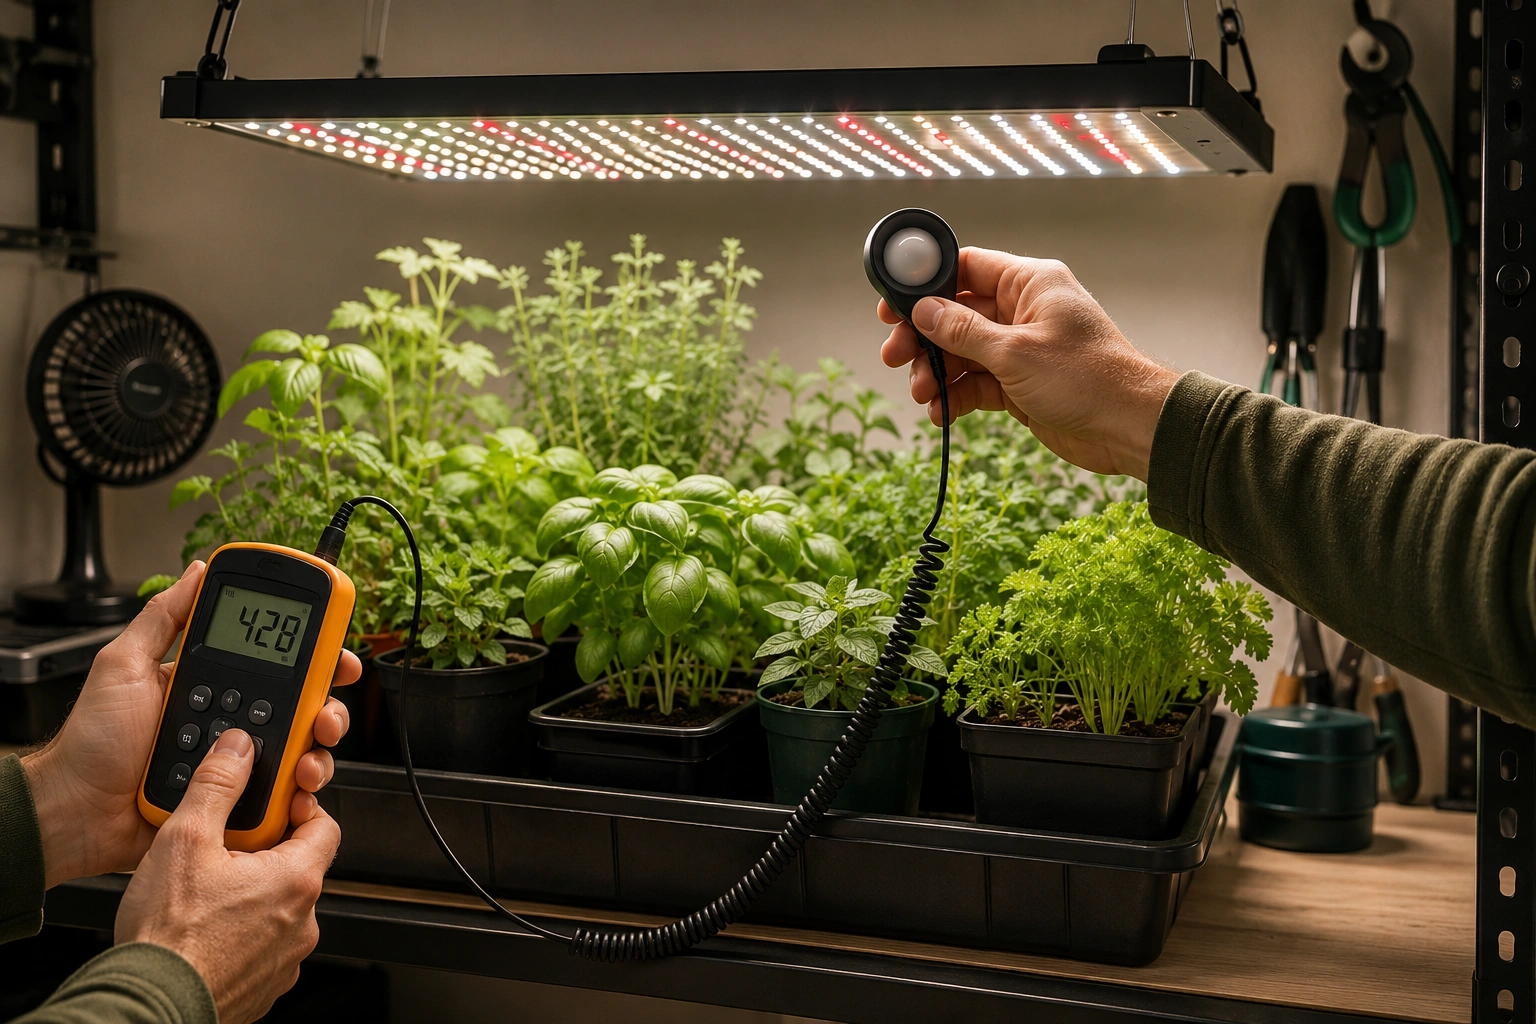
- PAR meter: measures useful plant-light intensity at canopy level.
- Timer: maintains a consistent photoperiod.
- Tape measure: keeps hanging height repeatable.
- Thermometer: helps identify excessive heat around plants.
- Adjustable hangers: make fixture-height changes much easier.
Take measurements at several points rather than only directly beneath the center of the fixture. Edge readings help reveal whether the growing area has useful coverage or a strong central hotspot.
9. Troubleshooting Flicker, Dimming, and Failure
When an LED installation behaves unexpectedly, troubleshoot one part of the system at a time instead of replacing components at random.
LEDs Do Not Turn On
- Confirm power at the source.
- Verify the power-supply output.
- Check polarity on low-voltage DC systems.
- Inspect connectors and solder joints.
LEDs Flicker
- Check for loose connections.
- Confirm that the dimmer and driver are compatible.
- Check whether the power supply is overloaded.
- Test the system without optional controllers when practical.
Strip Is Dimmer at the Far End
Long LED-strip runs can experience voltage drop. Symptoms may include reduced brightness or color changes toward the end of the strip. Appropriate wire size, shorter runs, or supplying power at additional points can help on systems designed to support it.
10. Basic Electrical Safety
Many LED projects operate at relatively low voltage, but the power supply feeding them may still connect directly to household mains electricity. Treat the mains side of any system accordingly.
- Disconnect power before altering wiring or connections.
- Do not work on exposed mains-voltage wiring unless qualified to do so.
- Use properly rated components, connectors, and enclosures.
- Keep exposed electrical connections away from water and condensation.
- Do not defeat fuses, grounding, or other protective devices.
- Replace damaged power cords and connectors rather than improvising repairs.
Low-voltage LEDs can make DIY lighting approachable, but low voltage does not mean every part of the system is risk-free.
11. Simple DIY LED Projects
Once you're comfortable with the basic tools, several projects provide a good introduction to practical LED installation without requiring a complicated circuit design.
- Under-cabinet lighting: use low-voltage strips or bars to illuminate work surfaces.
- Monitor bias lighting: add soft illumination behind a display.
- Grow-light shelf: combine LED bars, a timer, and adjustable hanging hardware.
- Motion-activated lighting: useful for closets, hallways, and utility areas.
- Display or shelf lighting: conceal LED strips in channels for a cleaner finished appearance.
Start with a small project that can be tested on the workbench before installation. It is much easier to learn how the components interact when everything remains visible and accessible.
12. Useful Tools & Equipment
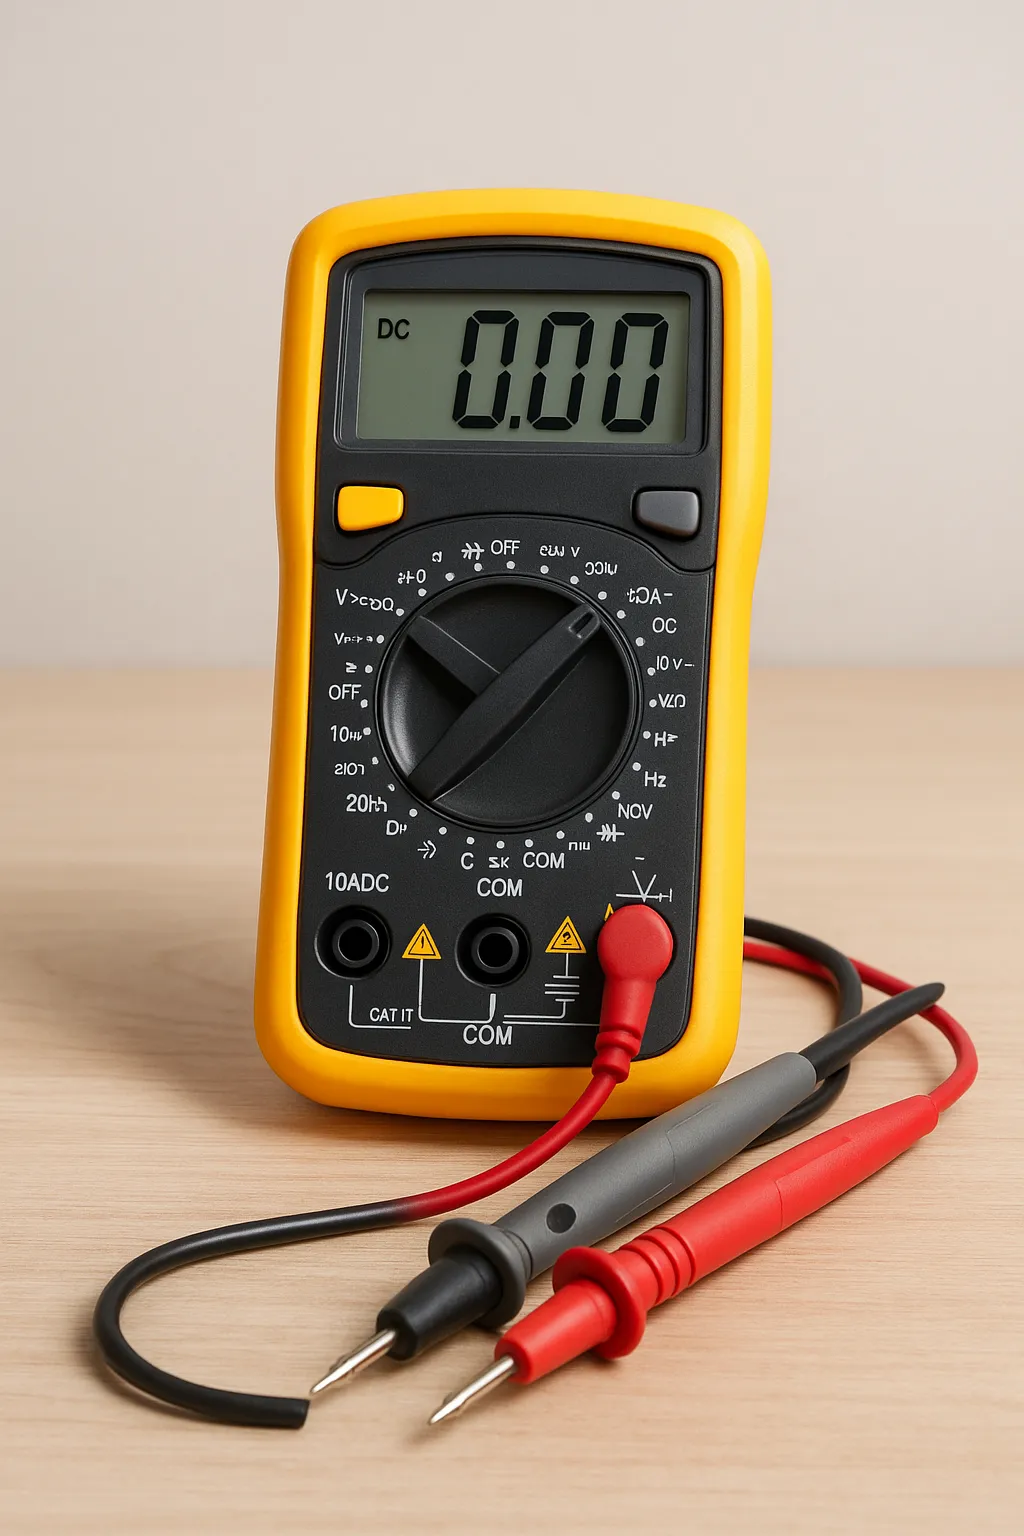
One of the first tools worth owning. Use it to check DC voltage, continuity, resistance, power-supply output, and wiring during troubleshooting.
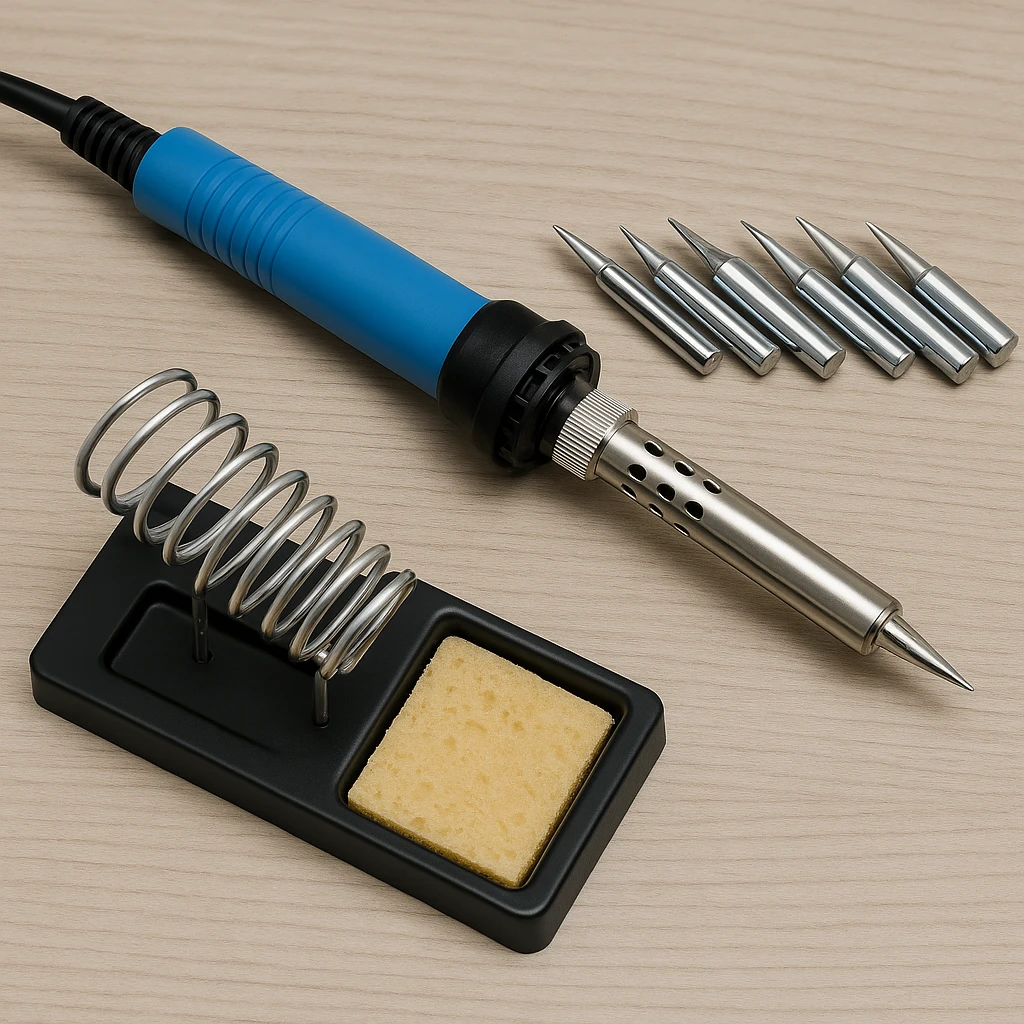
A temperature-controlled iron, stand, suitable solder, and a few useful tips are enough for most LED-strip and low-voltage wiring jobs.
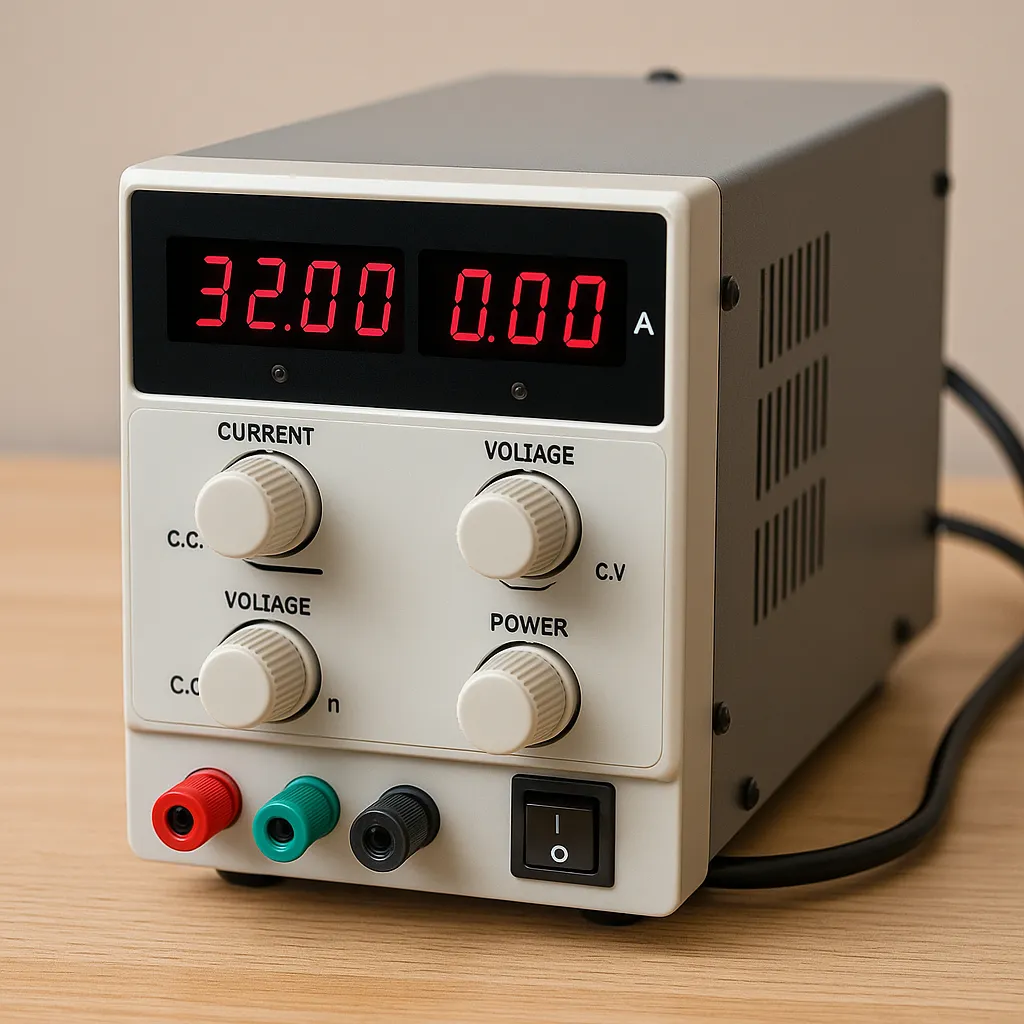
Useful for testing low-voltage LED components on the workbench. Adjustable voltage and current limiting make experimentation and diagnosis easier.
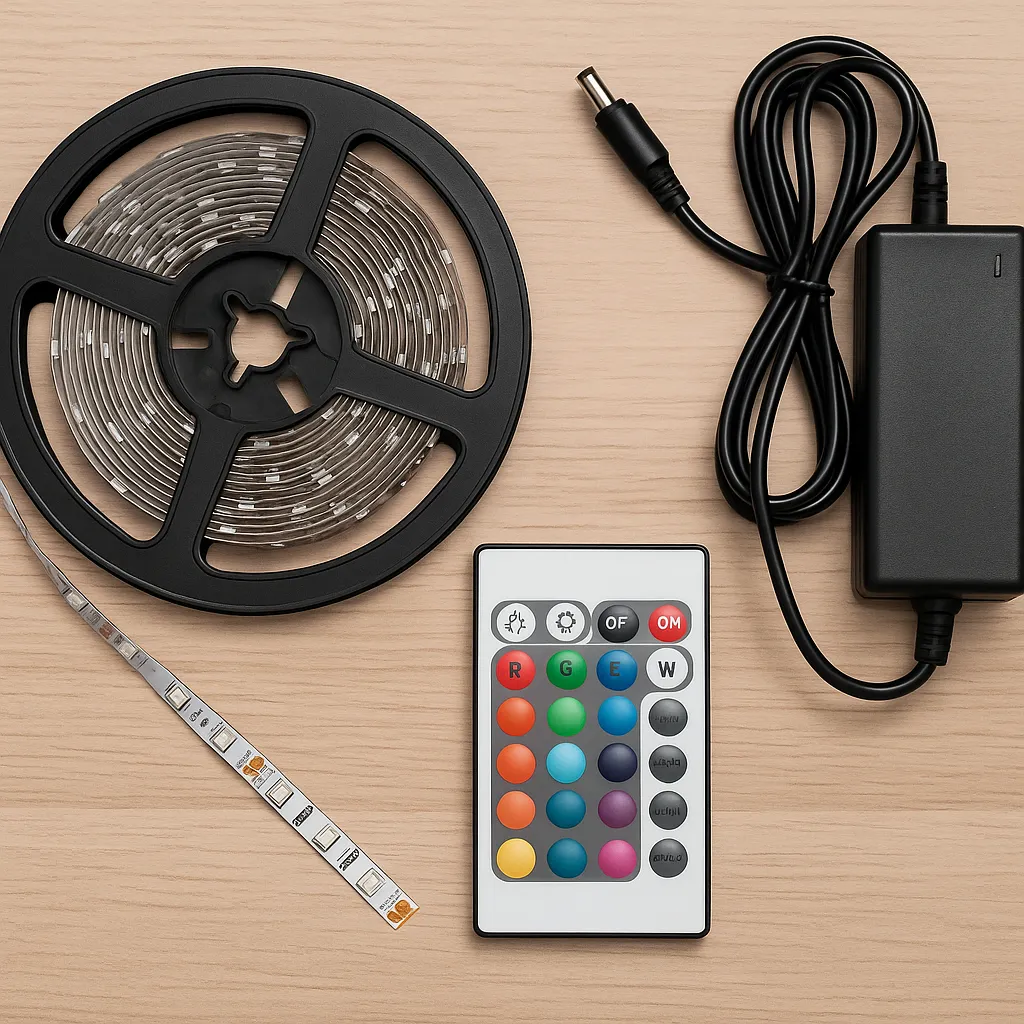
A basic strip, controller, and matching power supply provide an approachable way to learn polarity, connections, dimming, and installation techniques.
LEDHost Tip
When troubleshooting an LED system, change only one thing at a time. Verify the power source first, then the power supply, wiring, controller, and finally the LEDs. A systematic approach usually finds the problem faster than replacing parts at random.
More in the Tool Zone
Frequently Asked Questions
Ask a Question
All questions are reviewed before publishing.